Getting the Heat Right for Screen-Printed Glass
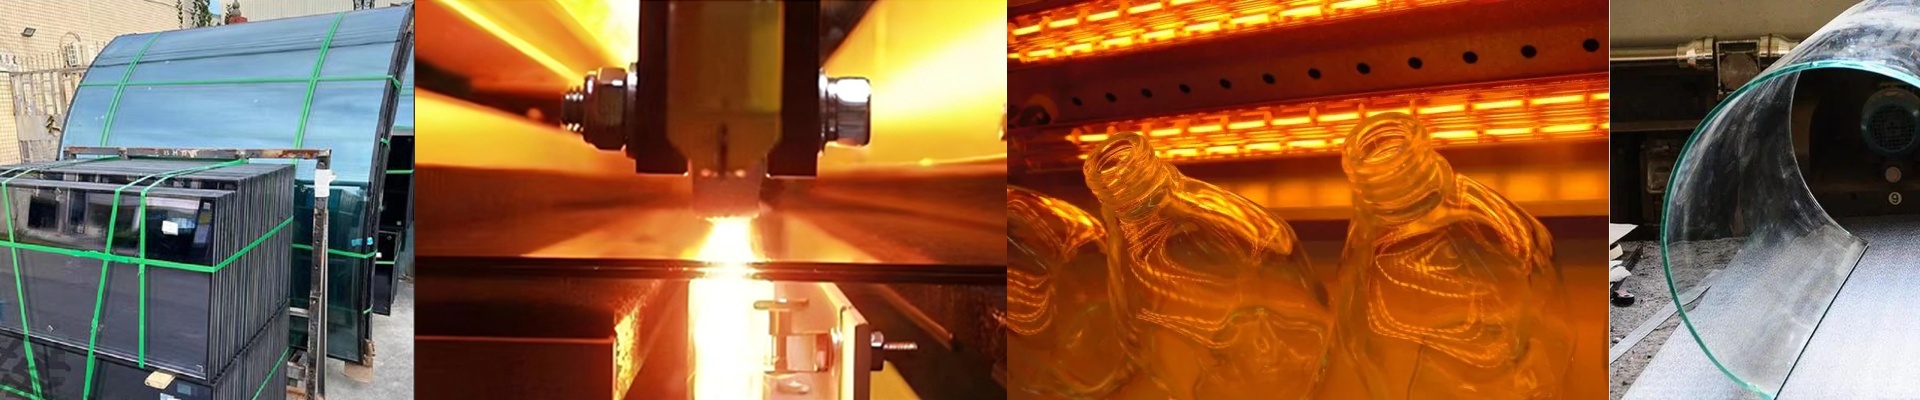
Here’s the problem when you mix screen printing with tempering: physics just doesn’t want to cooperate. The ink on the glass sucks up infrared (IR) energy way differently than the clear parts do. If you aren’t careful with the heat balance, you’ll end up with “hot spots” on your patterns. That’s how you get distorted designs or, even worse, those annoying little stress fractures. Keeping the patterns crisp We usually go with short-wave infrared lamps to fix this. Why? Because short-wave radiation hits the glass and penetrates it fast. It keeps the ink from overheating and “bleeding” before the actual core of the glass gets hot enough to temper. You can tweak the lamp wattage or move them further from the belt to dial in the heat flux. If you go too hard, you burn the ink. Too soft, and the glass stays under-tempered. It’s a delicate balance. Strength vs. Looks You’re aiming for a smooth, uniform temperature across the whole piece. If those IR lamps create a massive temperature jump between the Printed sections and the clear glass, you’re baking in residual stress. That’s a recipe for spontaneous breakage later on. I usually set up the heating zones to ramp up the temperature slowly. It gives the ink time to cure without bubbling, while the glass steadily hits its softening point. Real-world tips for the shop floor Don’t just guess. You need to keep a close eye on the surface temperature of the printed areas. I recommend using high-speed pyrometers aimed right at the patterns. If you notice the ink is getting too hot, don’t just panic and kill the power. Try adjusting your conveyor speed or shifting the lamp array around first. One last thing: high-wattage lamps are great for pushing out more product, but they put a huge load on your cooling blowers. If your cooling system can’t handle the ambient heat from a dense IR bank, your electronics are going to trip. Make sure your facility’s cooling can actually keep up with the heat you’re throwing at the glass.