Getting the Heat Right for Screen-Printed Glass
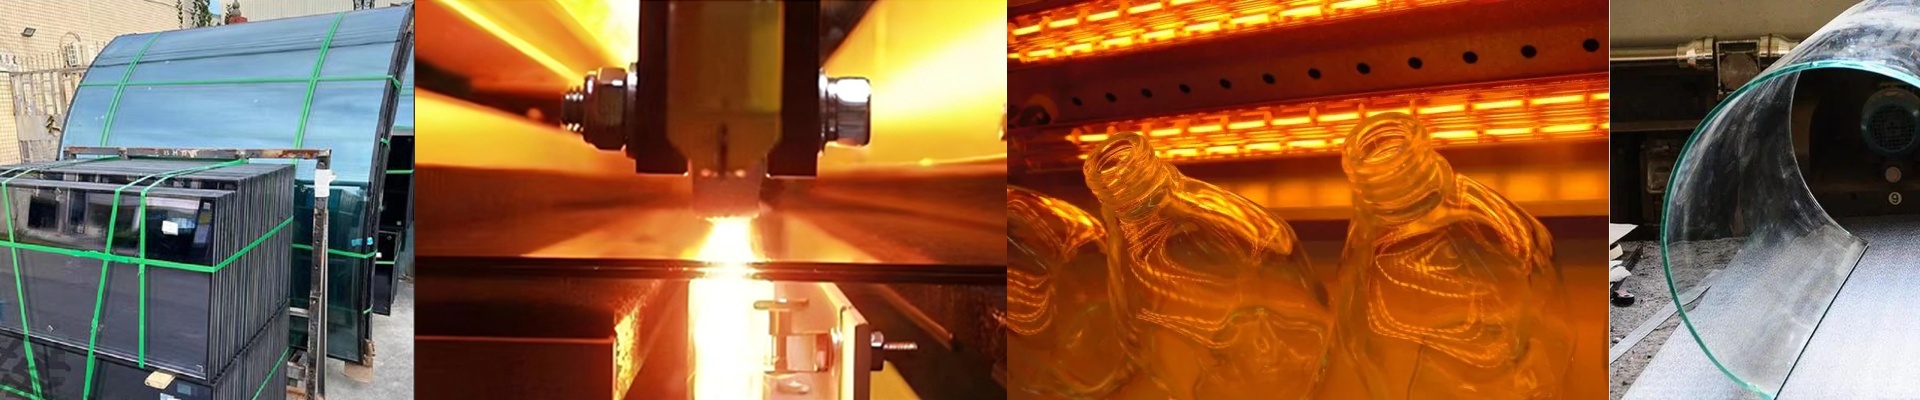
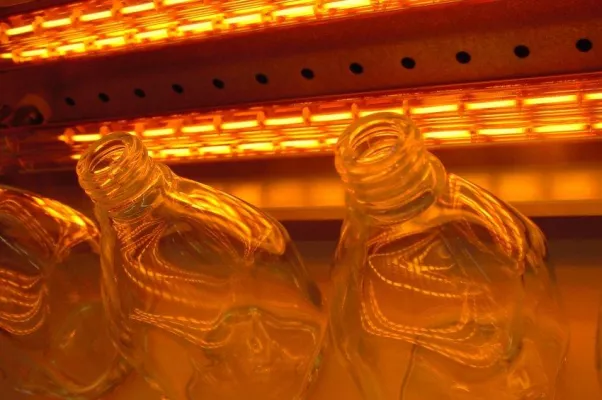
When you mix screen printing with tempering, you’re basically playing a game of tug-of-war with heat. On one side, the glass has to get hot enough to soften so it actually tempers. On the other, you can’t let that ink burn, bleed, or just plain disappear. It’s a tricky balance. We handle it by using targeted infrared (IR) heating arrays. The struggle with the heat curve Here’s the thing: ink and glass don’t soak up heat the same way. If you just blast the whole thing with uncontrolled heat, you’ll end up with “hot spots.” That’s where the ink starts to degrade, and suddenly your crisp edges look blurry or your colors look… off. To fix this, we use short-wave IR lamps. They push the heat deep into the glass fast. The goal is to get the core hot without letting the ink on the surface simmer in the heat for too long. Strength vs. Looks If you want the glass to be strong, you need a sharp temperature difference between the surface and the core when you hit the quench. That’s why we set up the IR arrays for high heat density. A fast ramp-up is key. You want to hit that target temperature and get out. But you have to be careful with the wattage. Go too high, and you’ll fry your pattern. Go too low, and the glass never hits the tempering point. Then you’re left with a piece of glass that’s way too fragile to be useful. The hidden trade-off There’s a catch, though. High-intensity IR heating puts a massive strain on your cooling system. If your furnace blowers can’t keep up, the ambient heat just builds up in the air. This is the worst part—the ink can actually start to “bake” before the glass even reaches the heating zone. To keep the print looking sharp, you’ve got to balance that IR output with some really precise airflow. We usually wire everything into PID controllers. It stops the temperature from overshooting and saves you from a lot of wasted material.