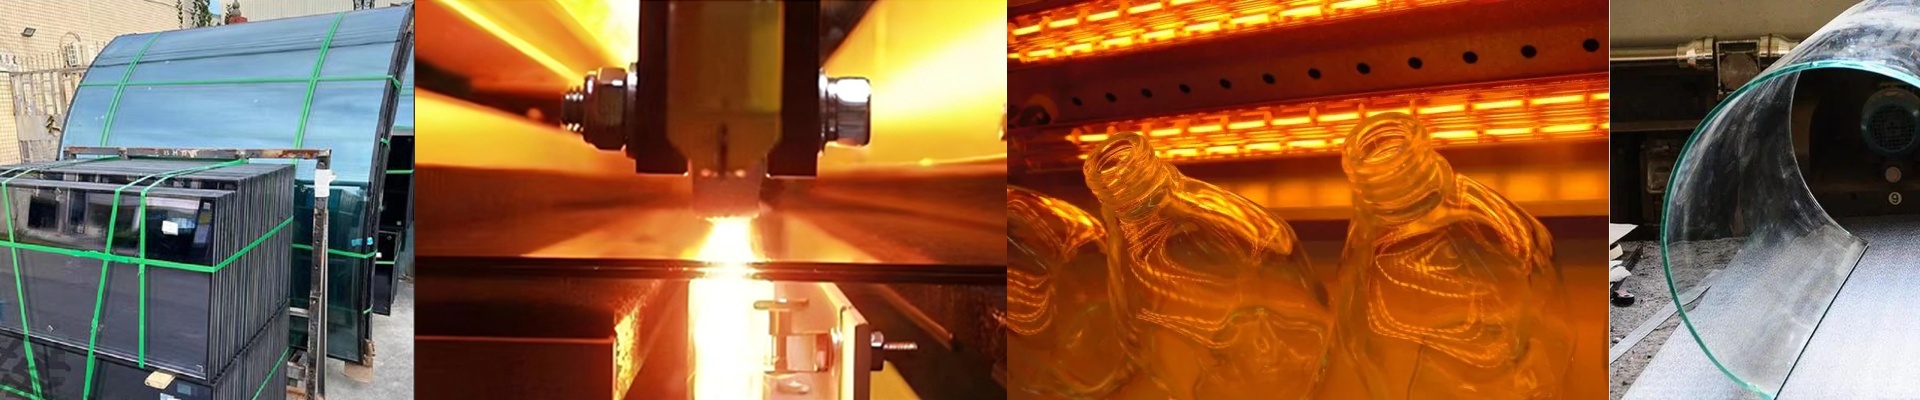

On the line, glass tube sealing is all about thermal control. One cold spot or a spike in the gradient, and you’re staring at a hairline crack—or a warped seal that’ll fail down the road. Rework isn’t an option. The line needs seals that come out in spec, cycle after cycle.
What matters, technically
We build the heating module around a quartz emitter. It responds fast and holds steady in the short-wave band, which is exactly what you want. The point isn’t just hitting peak temperature—it’s getting a uniform thermal field across the seal zone. We tune the lamp geometry and reflector layout to keep the glass surface temperature even. That limits thermal stress, which is what drives fractures and optical distortion. Power density is matched to the tube OD and wall thickness so the glass hits the sealing point quickly, without soaking the surrounding parts.
Why this approach holds up
Glass tube sealing is a tight act. The glass has to reach the working point, the lead wires have to seat properly, and the joint has to set without giving you annealing headaches. Uniform heating keeps localized expansion in check, so the seal forms without micro-cracks or bending. You end up with fewer rejects, consistent geometry, and throughput that doesn’t yo-yo. Fast ramp-up cuts cycle time, and the focused energy profile keeps energy use inside the process window instead of bleeding out as overheat.
The things you learn the hard way
Matching the lamp to the machine—and to the glass—is not optional. Clearance, alignment, and cooling all impact repeatability. And emissivity differences between clear and coated glass will shift how the part absorbs heat. Run a short commissioning cycle to lock in the profile, and make sure the power supply matches the lamp rating. If you run the lamp continuously at max output, expect shorter life. Put a schedule on it—periodic checks—and keep spares on hand so the line keeps moving.